The DreaMachine (now 3D printed!)
In 1959, the British painter Brion Gysin invented a sci-fi looking device that he named the Dreamachine. The most peculiar aspect of this device was that it was meant to be looked at.. with your eyes closed. I don’t know exactly when was the first time I came to know about this fascinating object, but I remember the last one, because it was only two years ago at the Tate Modern in London. In that occasion I saw it in person, together with so many other fascinating art, in an exhibition called Electric Dreams. I liked it so much that I decided to bring home the related book as well (also, I love coffee table books!)
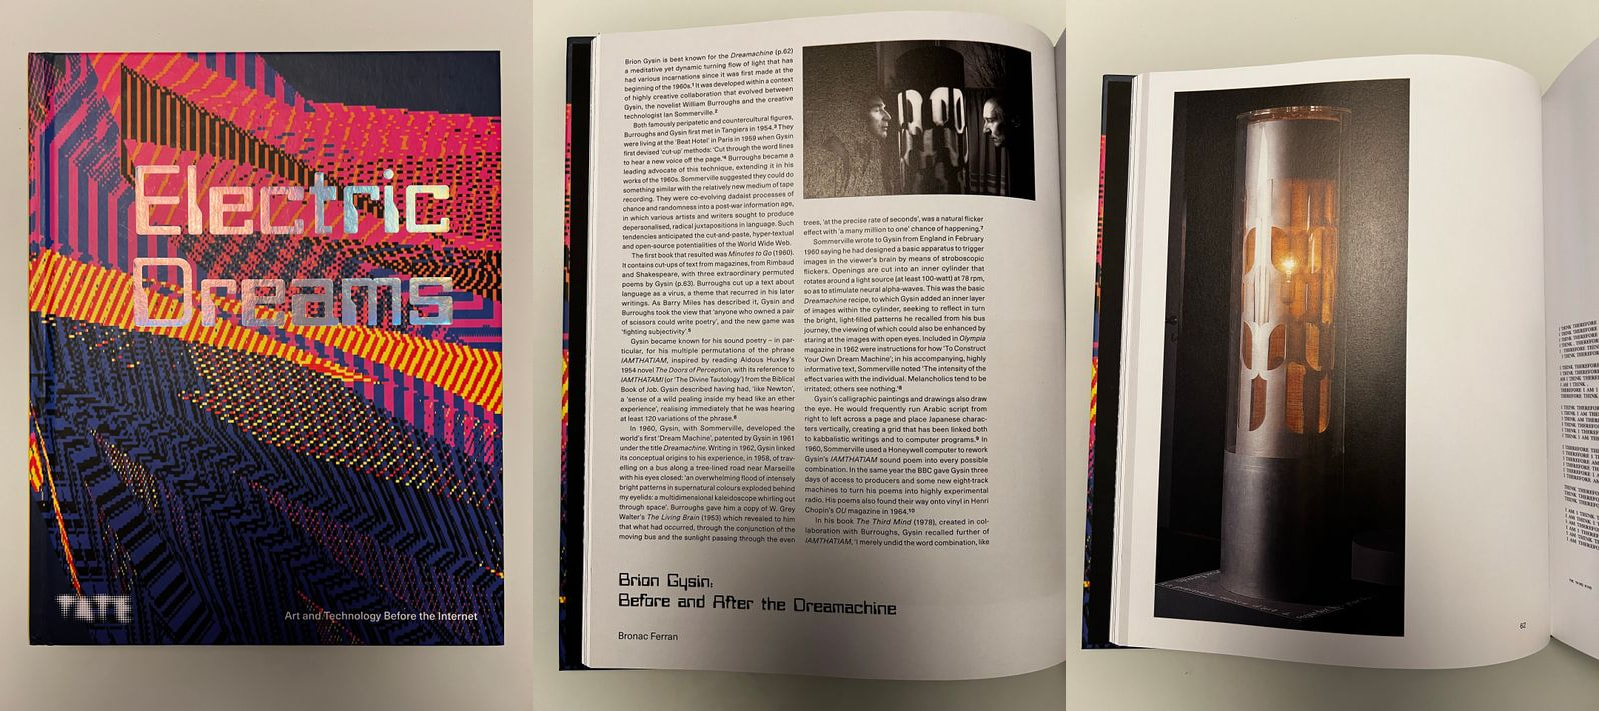
What’s its purpose? High-level explanation, is to enter some kind of hallucinating state, where you start seeing moving shapes of all kinds. A better explanation, borrowed from Wikipedia, is that
[…] the pulsating light stimulates the optic nerve and thus alters the brain’s electrical oscillations. As users adjust to the experience, they see increasingly complex animated yantra-like patterns of color behind their closed eyelids.
Anyway, at some point last year I thought: what if I make its 3D model to print it and have one in my house, so that I can start hallucinating high on camomille and melatonin? (I know, I’m living a wild life).
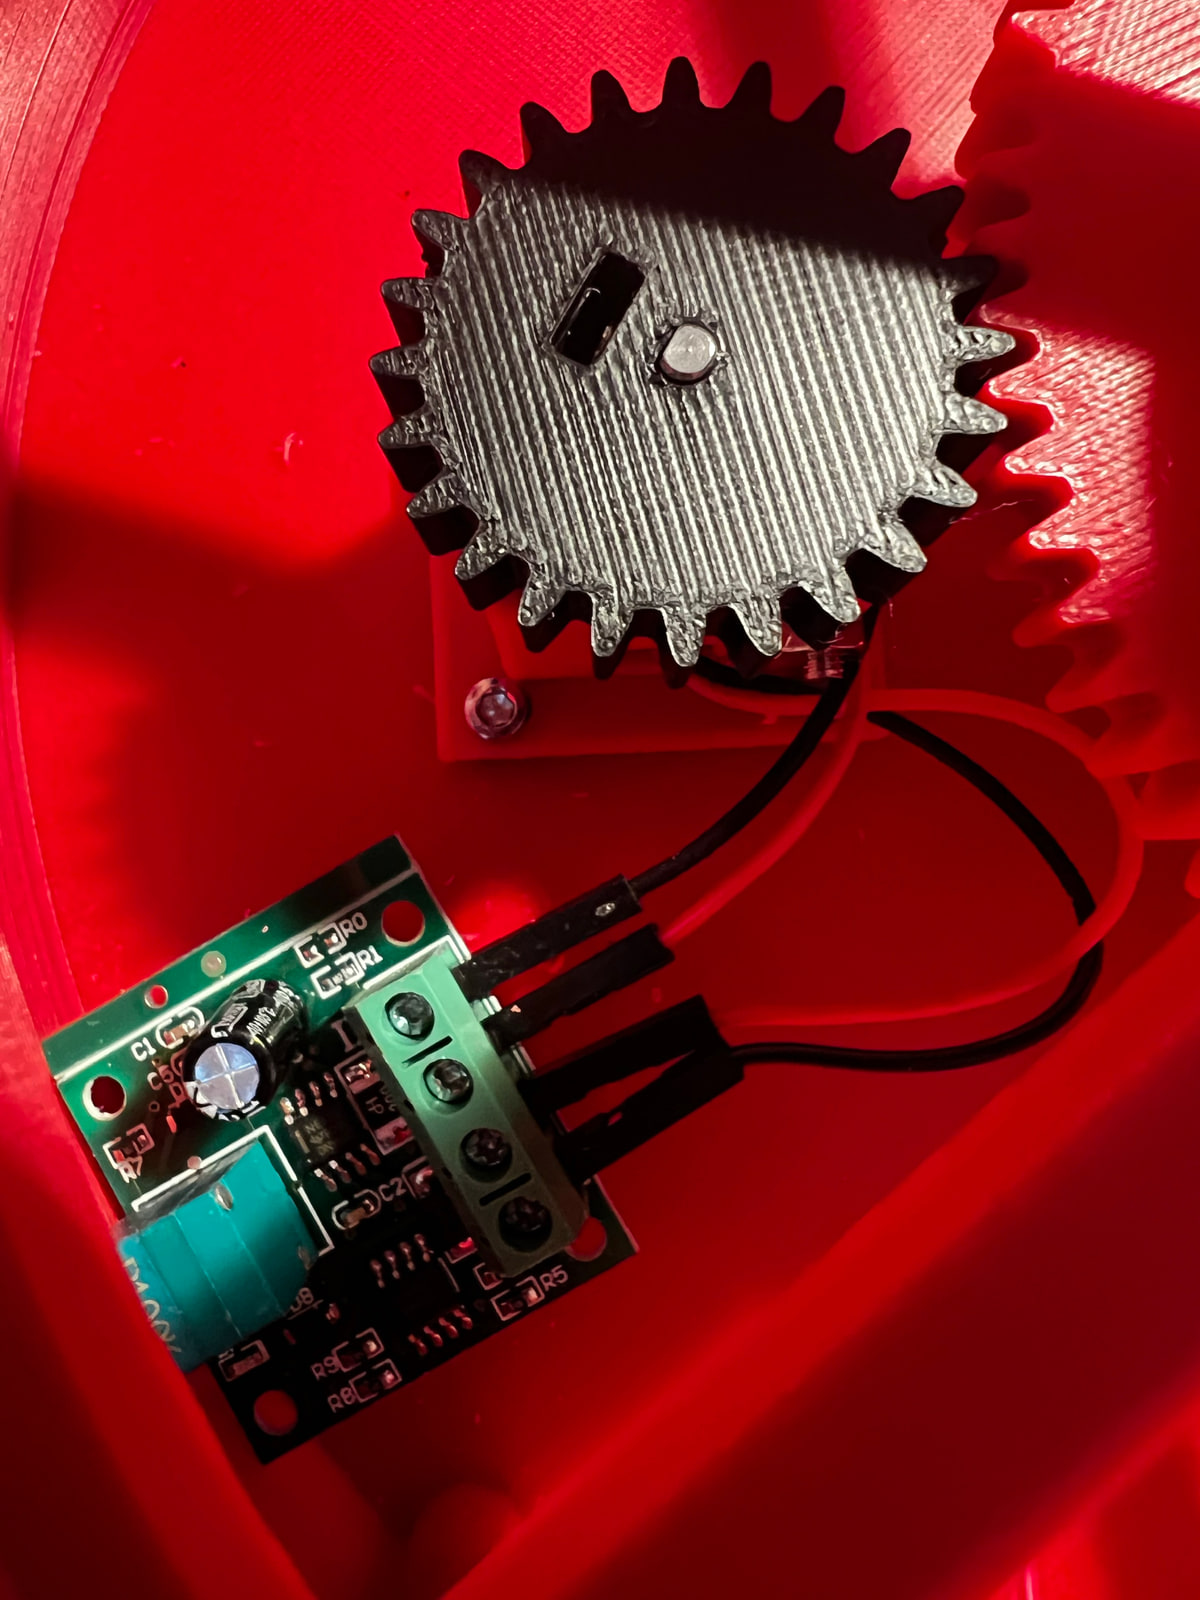
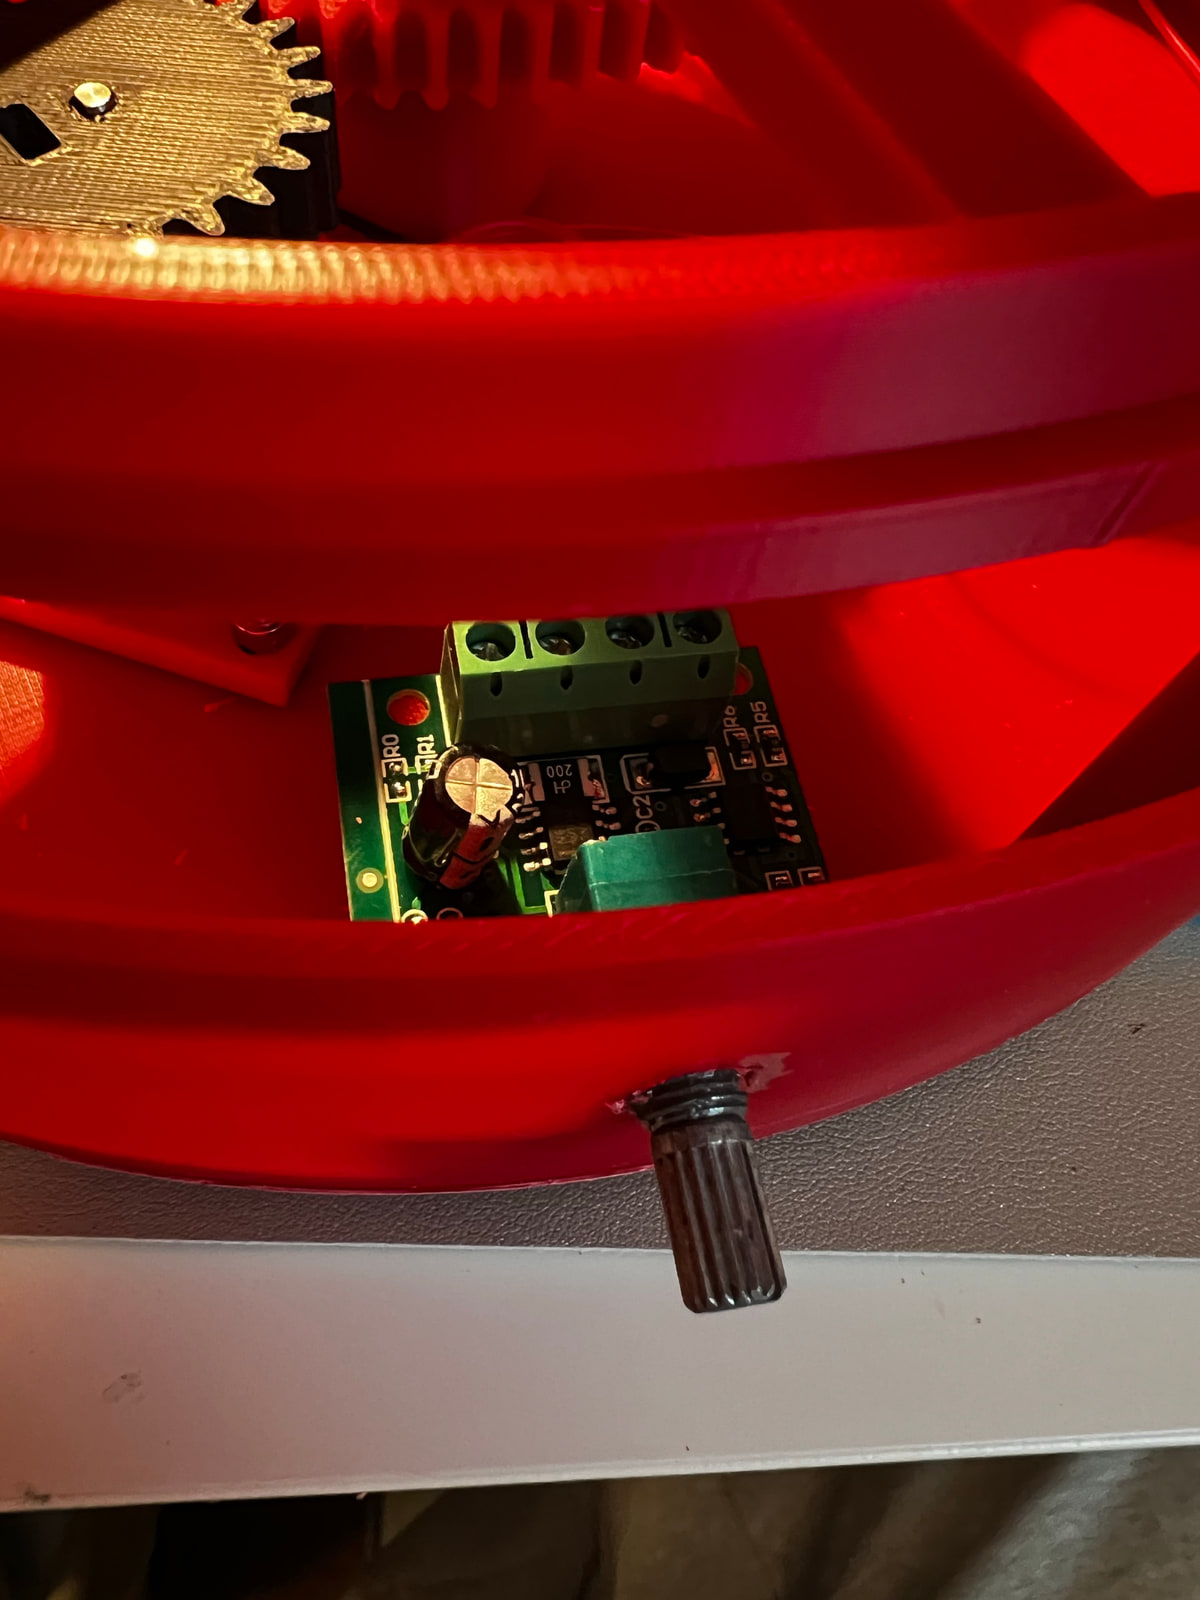
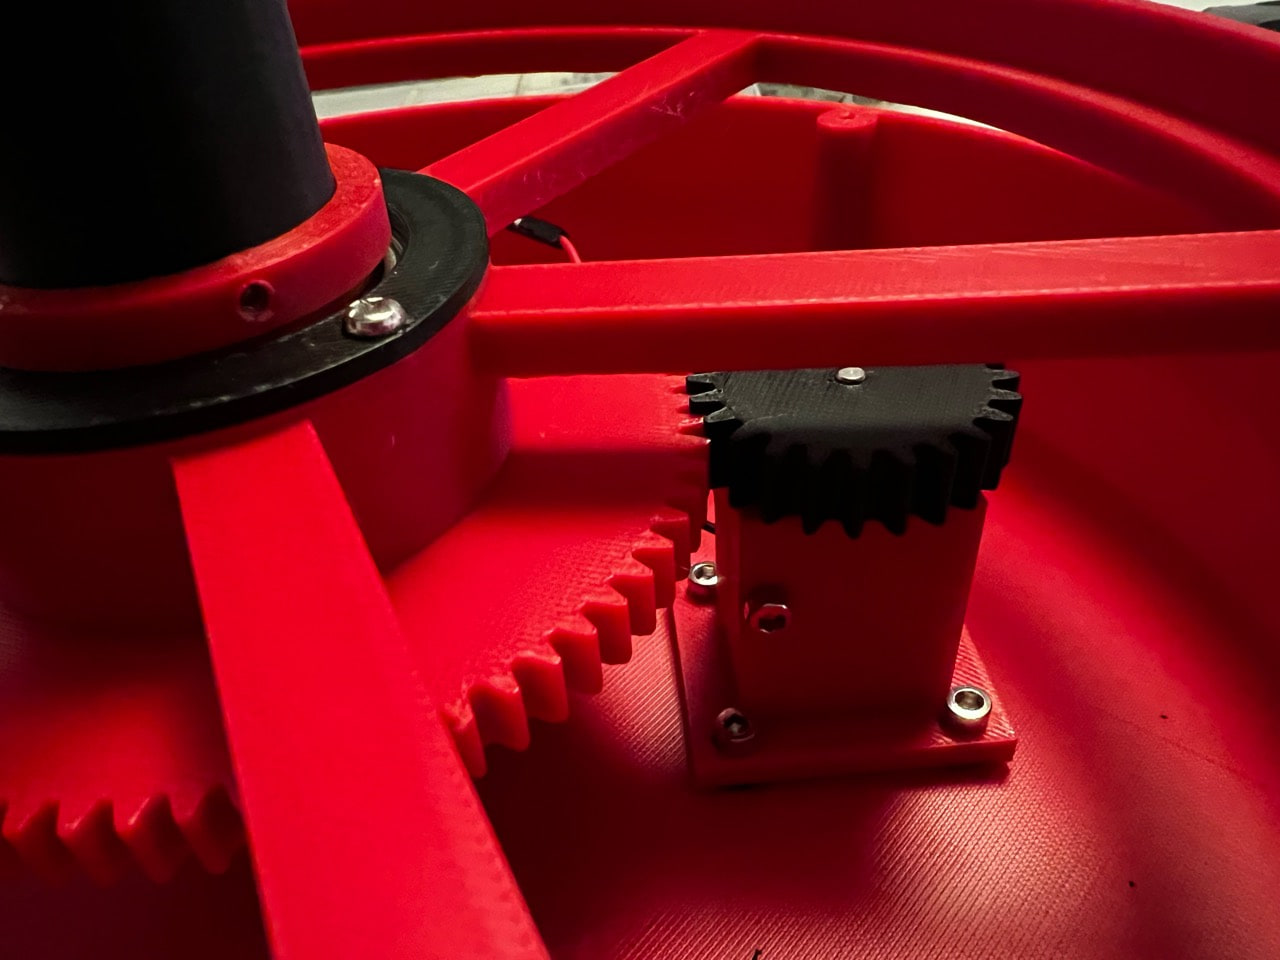
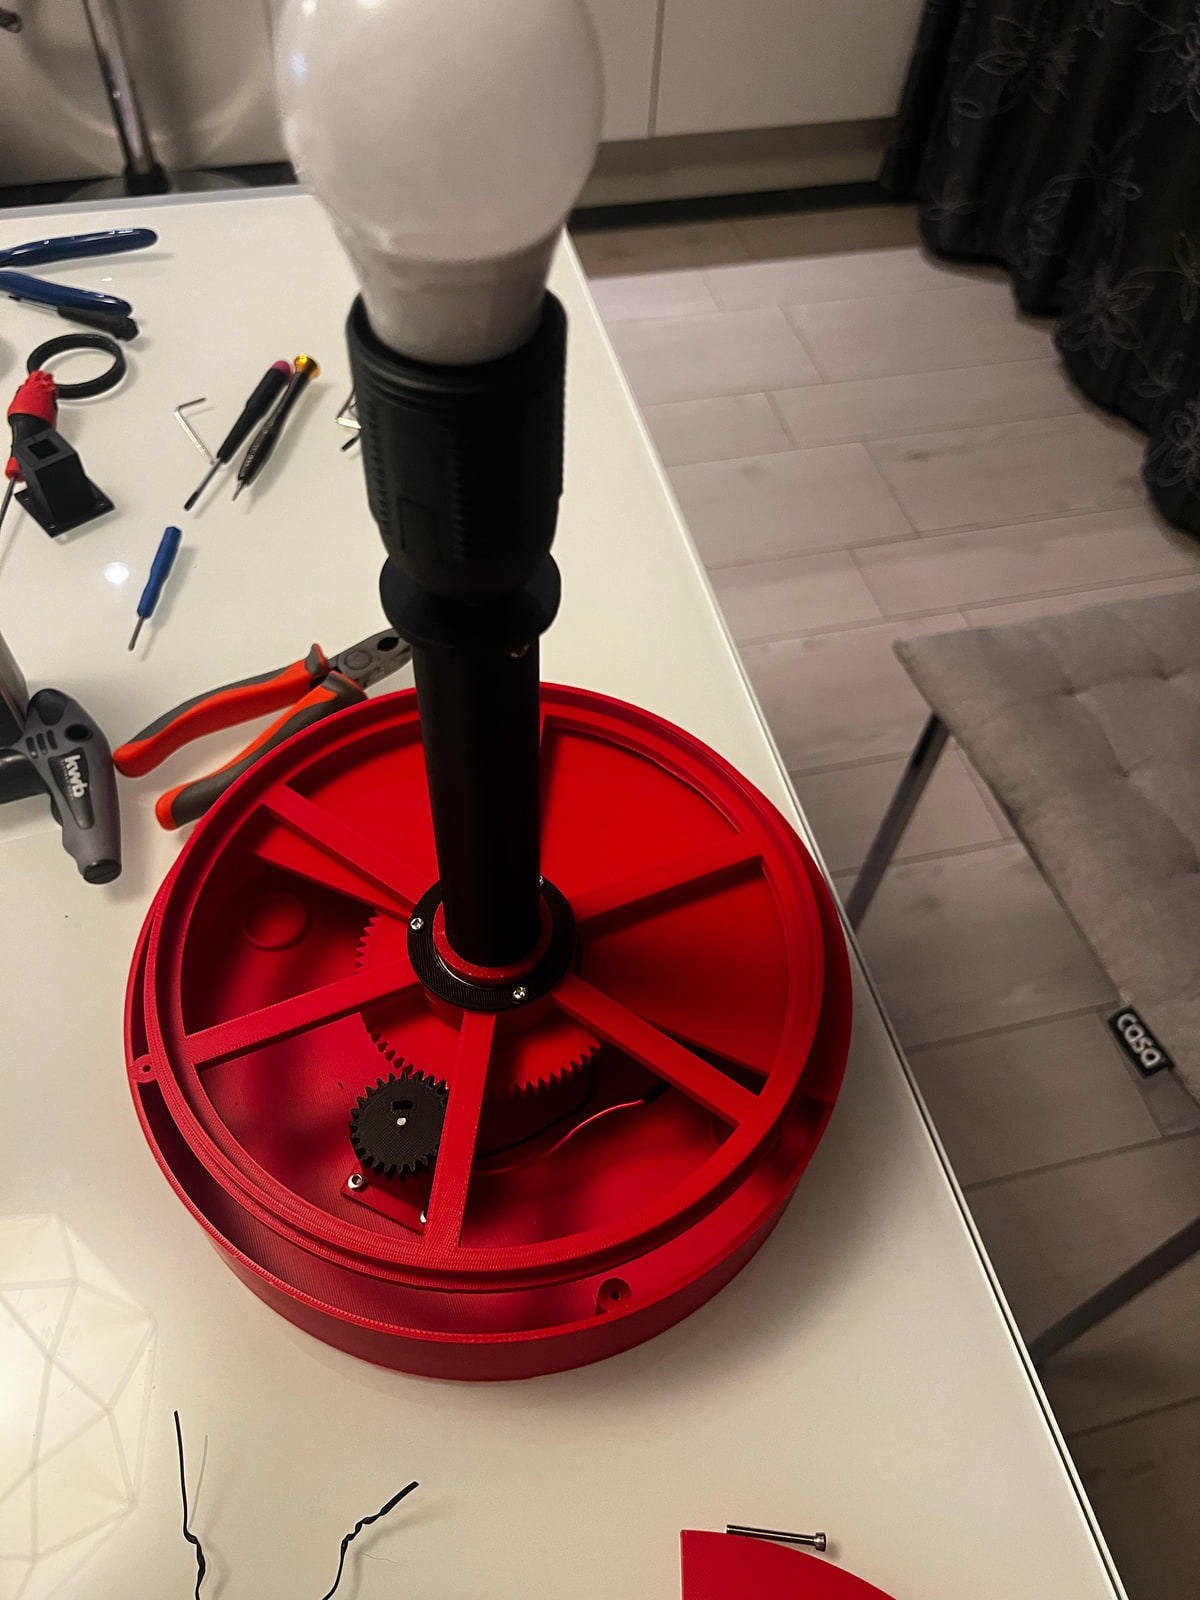
I wanted a version that could be almost entirely 3D printed, except of course for the electrical motor, power adapter, wires and lightbulb. Also I suspected that the exact RPMs of the cylinder spinning would have been hard to set a-priori, so I included a knob with a PWM DC Motor Speed Controller. Well that’s not how it really went if I’m being honest. I first built a prototype without any controller, that even with all the gears to reduce the rotation speed, was spinning like a quadcopter about to take off. Then I bought the controller and included it, which also act as a switch. In theory the right speed should be 45 RPM. I’ve set it to that speed only once, because i’ve done it by counting rotations with a 60 seconds timer multiple times. If I didn’t get a seizure then, I don’t think I ever will.
I’ve picked one of the patterns found online for the shapes and positions of the apertures in the cylinder, the one pattern that i’m almost sure i’ve seen in person, and recreated it in CAD. The first time i’ve printed it I used the supports for the upper arcs of the apertures, it was a huge waste of material and a mess to remove it. So, as I usually do in these situations, I begged the gravity-defying gods of 3D printing to assist me. And, apart from few imperfections of the arcs, that can only be seen up close, they did deliver.
Given the size limitation for the printing height (the cylinder height is twice is more than twice its diameter), i’ve split the cylinder in two pieces, and prepared the holes for the assembly with screws, no glue involved!
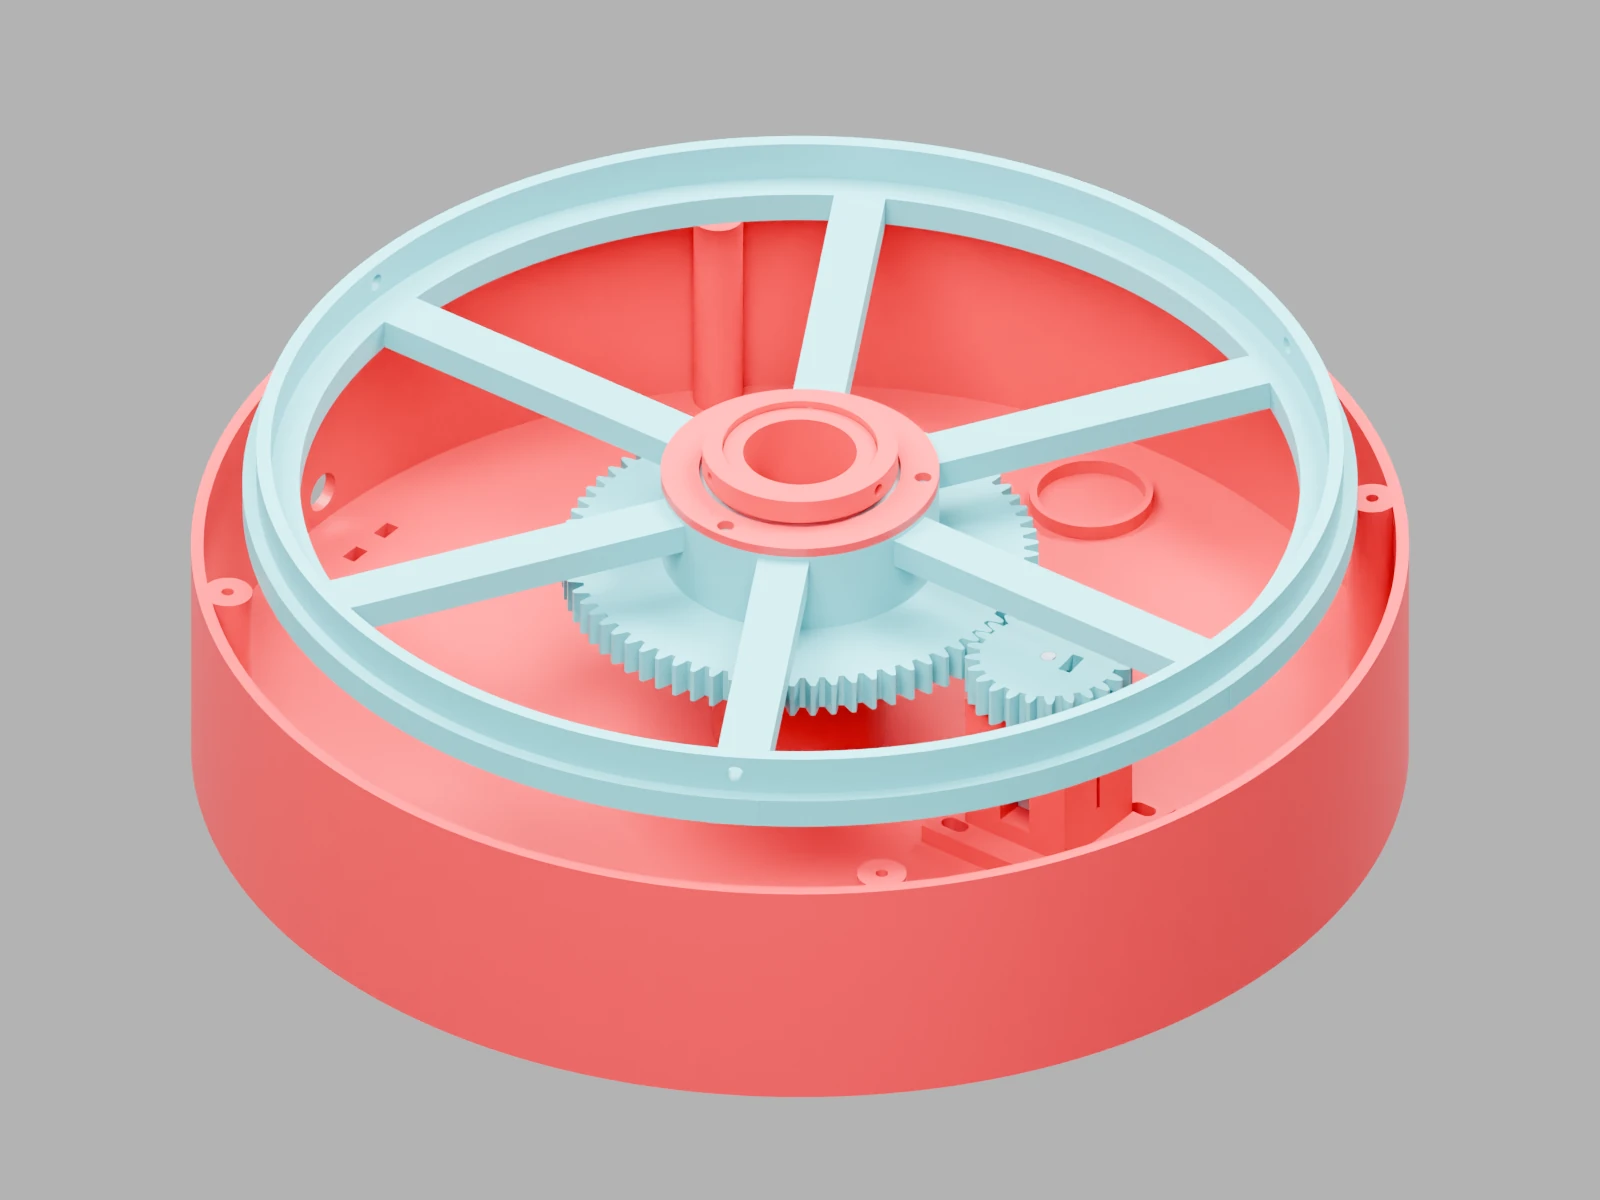
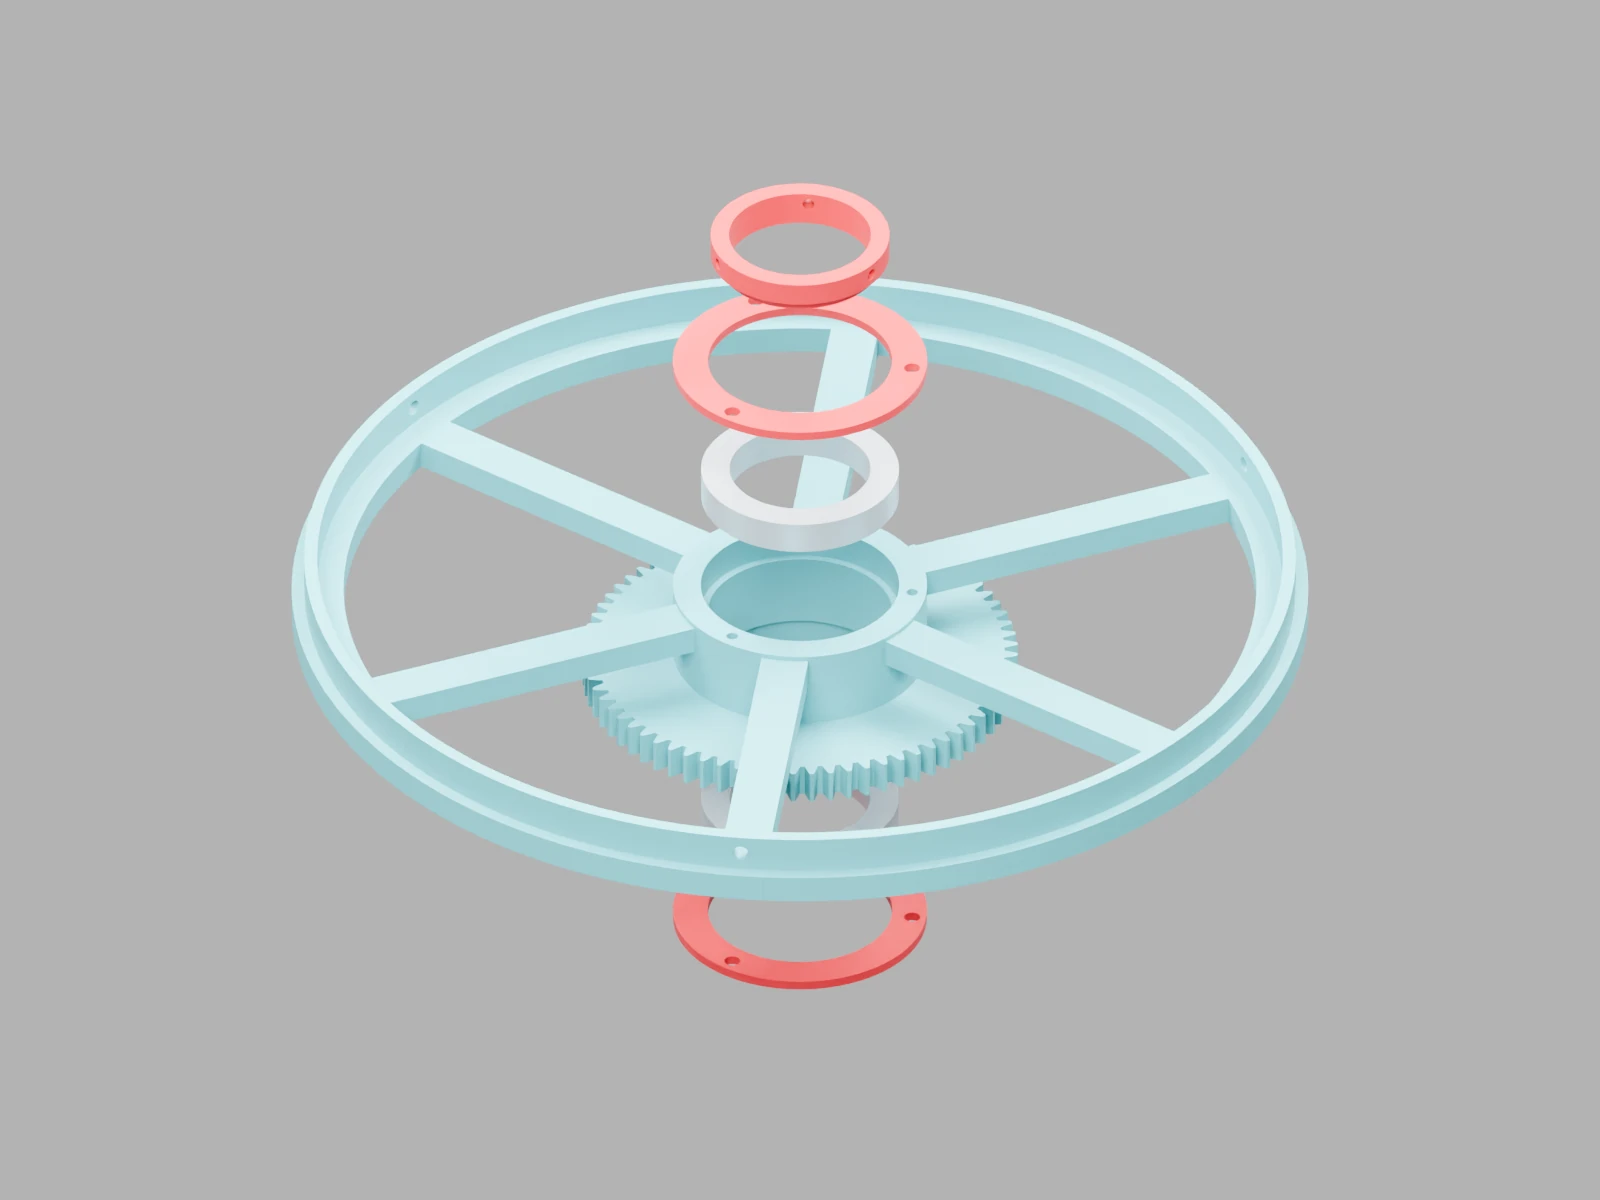
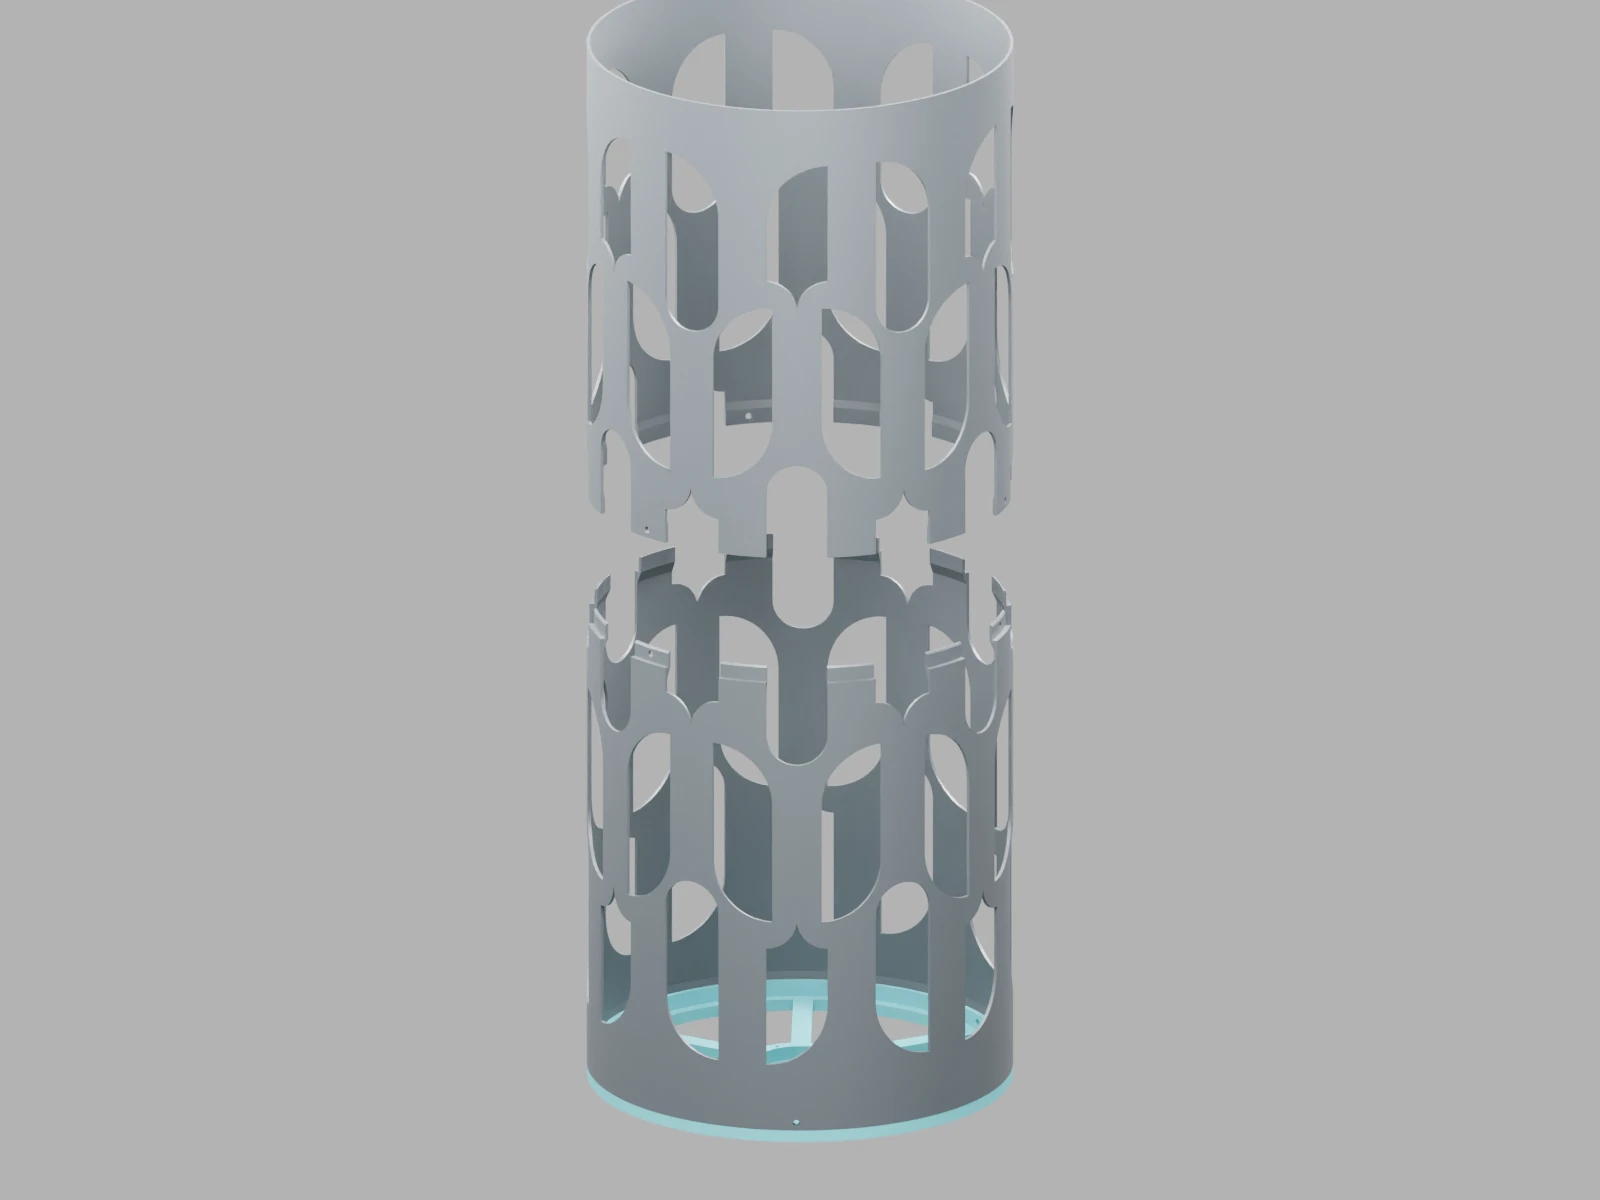
I worked through several prototypes and faced several challenges, so you don’t have to! I’ve made everything available on MakerWorld, including an assembling guide. I’m providing 3 version based on the print bed sizes for BambuLab printers. In picking the size, please consider that already with my P1S (256x256mm print bed) this thing is huge, not your usual ornamental desk lamp. However the biggest version (for a 300x300mm print bed) should be the closest to the original object you find in museums. Download the files and assembly guide on MakerWorld.