A Task Printer Machine out of Severance

All my life I’ve been inventing new ways of organizing and picking “TODOs”, and various gamifications to create rewards and make the process appealing. Anything to survive the “execution paralysis” of my tasks and win against procrastination. Disclaimer: I’m not here to tell you about a magic way to fight your procrastination and cure ADHD; I don’t have such a secret recipe and the internet is already flooded with blog posts, YT videos and best-selling books on the topic.
Something that worked particularly well for me was to write down tasks on small paper cards (~2 × 5 cm), one task each; then I would roll them and keep them in a jar. When looking for something to do, I would just pick one randomly, read it and focus only on that. That would solve (i) the anxiety of seeing a list of TODOs that was too long to feel manageable, (ii) the prioritization paralysis of picking one task among many high-priority urgent things, (iii) any attempt of mine at multi-tasking among many separate tasks. Additionally, “done” slips could be accumulated in another jar, and filling up a jar fully or up to a certain level would be a measurable sign of success. I could set milestones (and related self-rewards) through that.
So in short I’ve decided to digitize this technique and blend in my passion for retro-computing, 3D printing and… Severance! I love the atmosphere in the series, love mystery mixed with sci-fi, and it reminds me a bit of the computing design golden age of Olivetti.
The prototype I’m showing you today I’ve actually had for quite some time; it must have been around 2 years. I also haven’t used it for quite some time, to be honest. But it was made of two separate devices, a Raspberry Pi 3 Model B (in a case + display kit) and a thermal printer, and it didn’t look as good as it does now. Over the last two weekends I’ve worked on an enclosure for both, plus some software fixes and UI reworking.
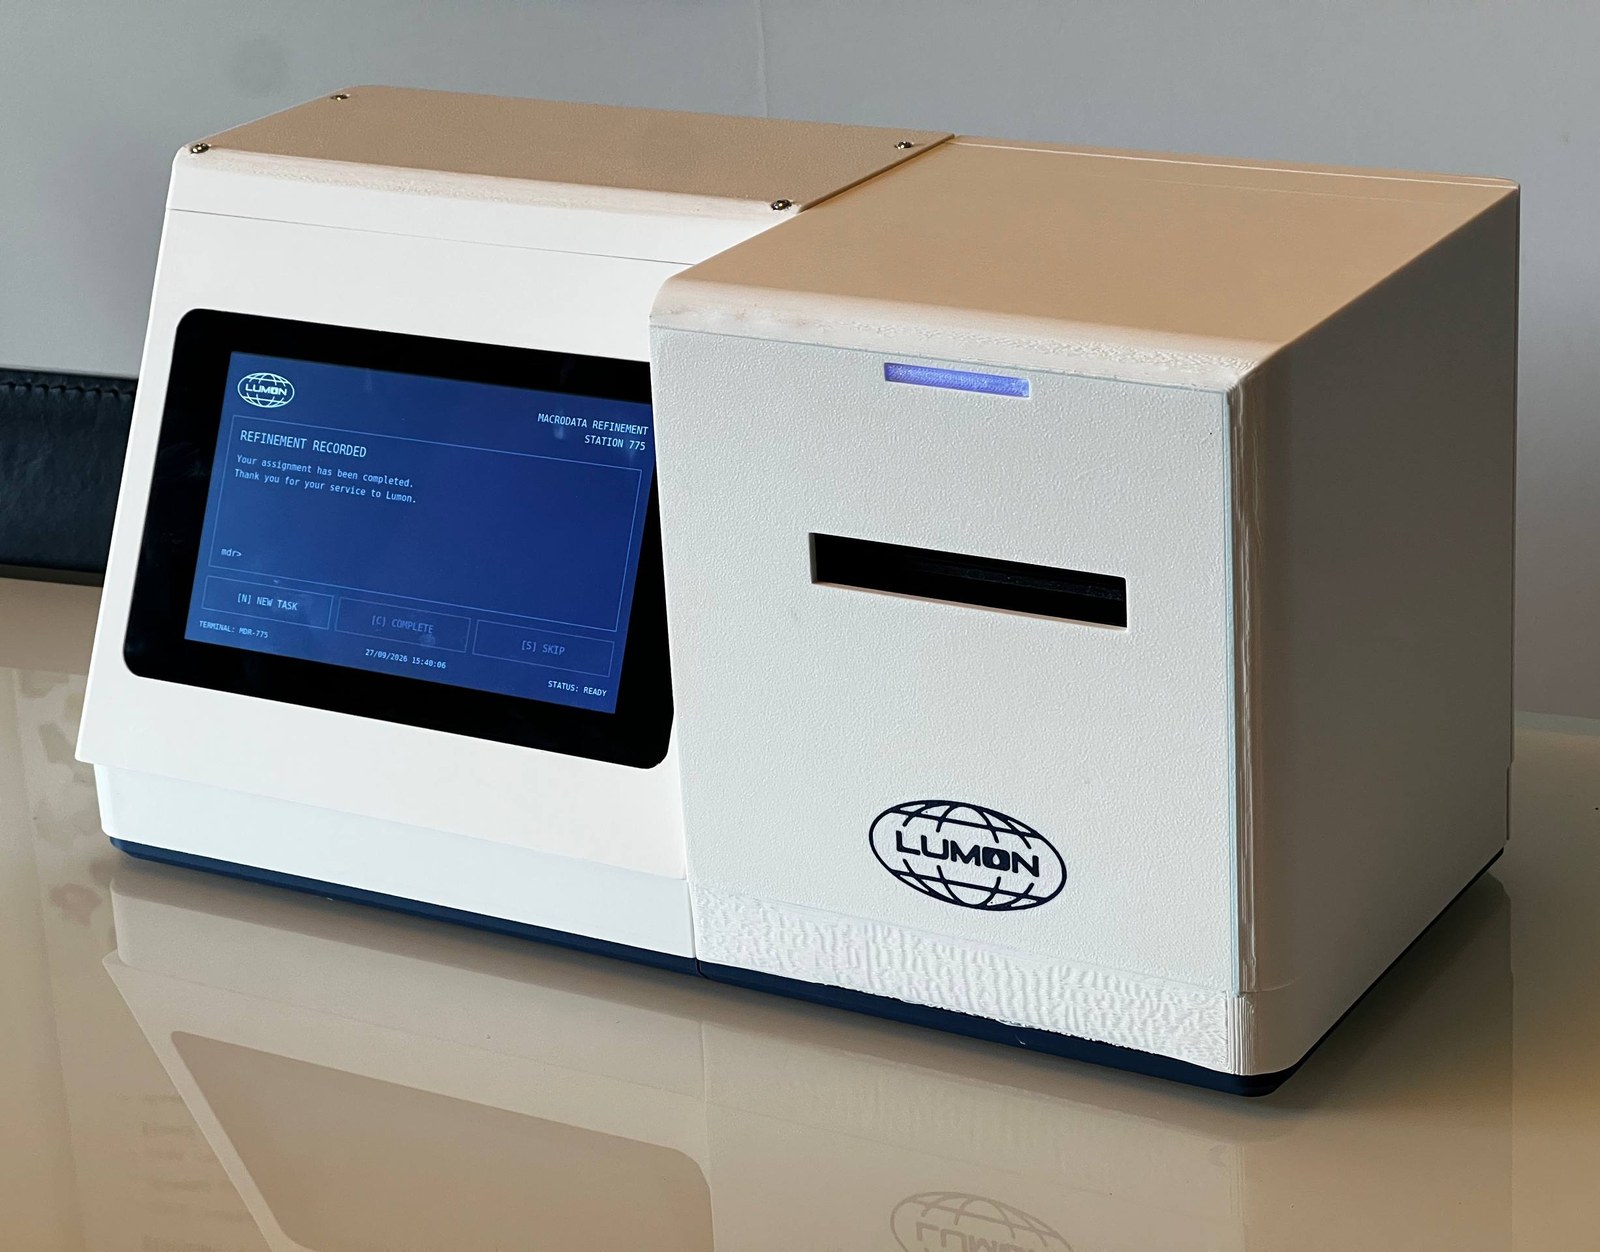
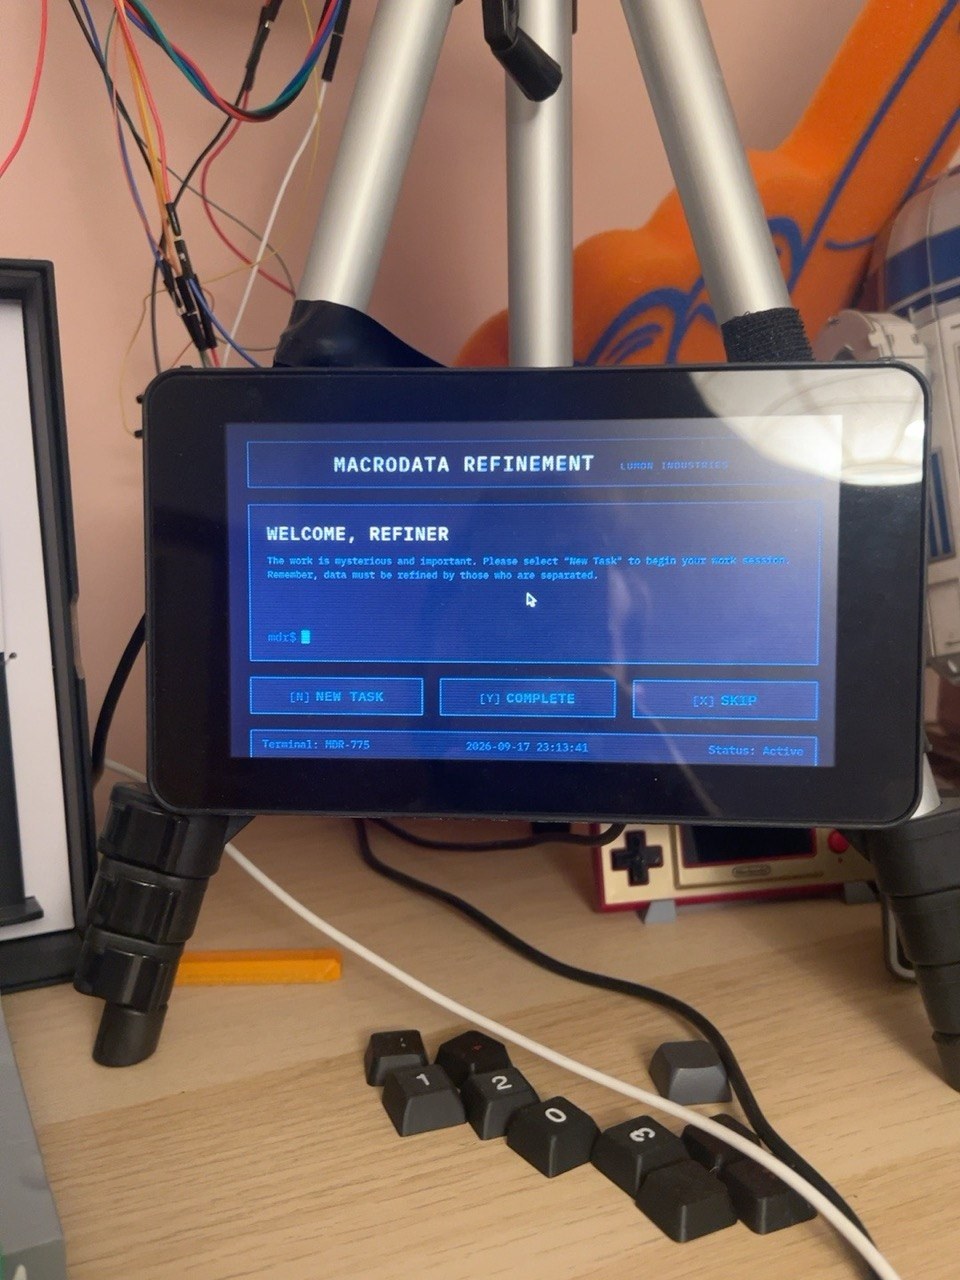
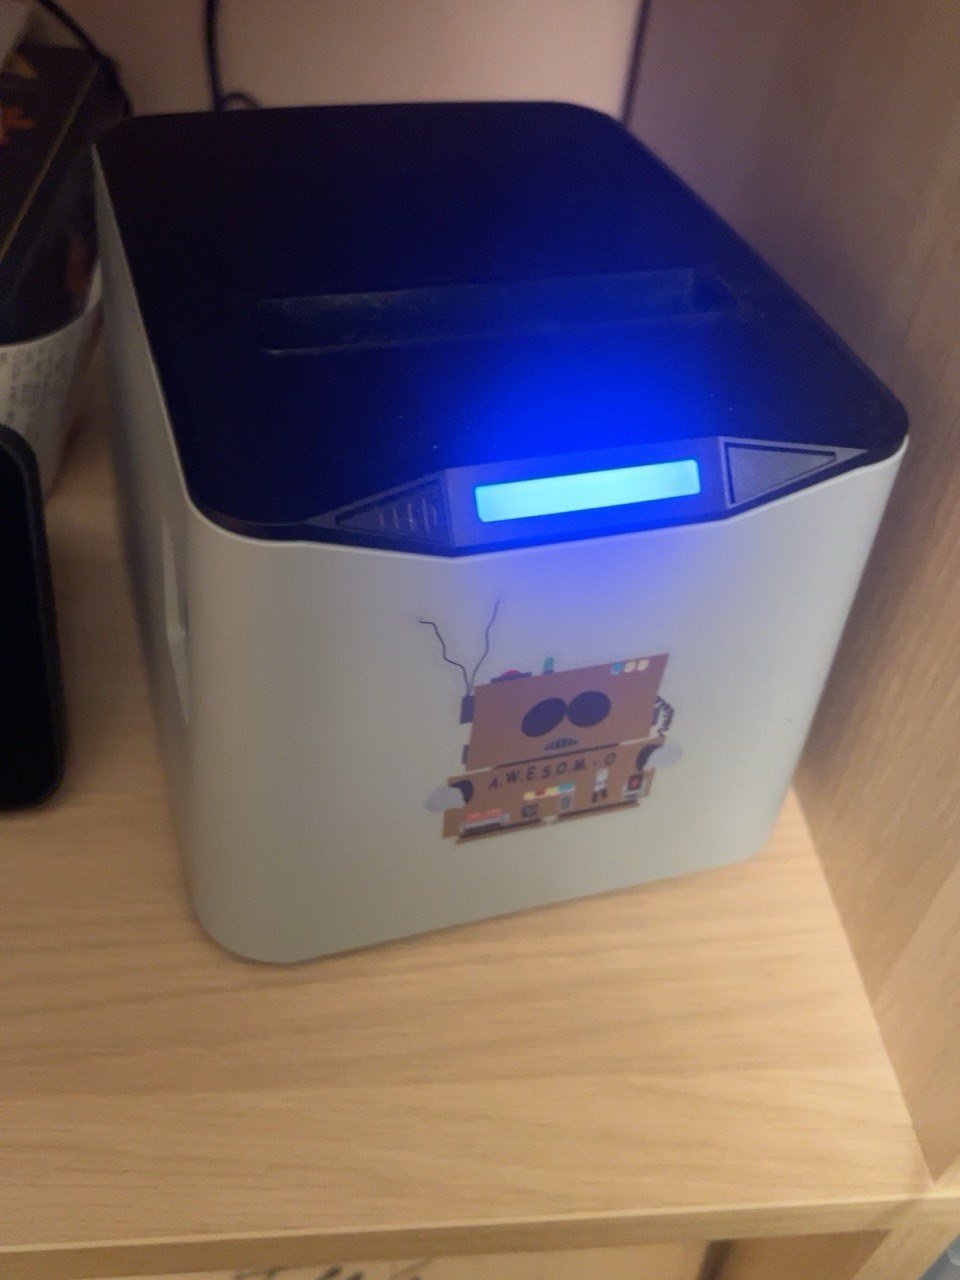
The main idea is simple:
- A single place where I accumulate things to do, reachable through APIs, currently using a Trello board, but I should extend it to support other similar platforms.
- A UI/touch screen to get new tasks, mark them as done or postpone them.
- A thermal printer to give that retro-computing touch, plus it’s small and convenient (it doesn’t require ink, I love thermal printers and have used them for other projects as well)
On top of that, a few important details:
- The task can be accompanied by an amount of effort required, in minutes. This is used to track the elapsed/remaining time on the display.
- Picking of the tasks should not be completely random: it should be based on the time of day, day of week, creation timestamp, deadline (if set on the task) and time and effort needed. I’ve attached an LLM to this task using OpenRouter. Now that JEV and similar models are becoming all the rage (at least this week, surely next week there will be 3 other new booming technologies in AI) I’m thinking that probably that could be a good use case for such a model. In any case, when the LLM is not available (e.g. I don’t top up my credit in OpenRouter) it can fall back to a simple heuristic based on urgency and staleness.
- I have, apart from the TODO cards, another pile of tasks called “Better than nothing”. In there I keep things I should actually enjoy doing (e.g. playing guitar), but I don’t do them because I’m constantly thinking I have important stuff to do. Also, these fun activities are not one-off tasks; they can be repeated. When an LLM picks a task, it may choose an enjoyable task during the weekend or after a certain number of completed serious tasks.
- Other things I’m not going to bore you about.
So now, moving to the enclosure part, which is the one I wasted several hours on (and days of non-stop printing). In short, I wanted a single case that could hold together both the Raspberry Pi + display and the thermal printer. First I thought of having the display on top of the printer, but it felt somehow wrong. I went for the side-by-side design, with the screen tilted like an old Minitel terminal. The problem with that was that my printer (a Bambu Lab P1S) doesn’t have a big enough print bed (it’s 256 × 256 mm, while the final case assembled is 393 × 172 × 200 mm). Because of that I had to split it into two bays, one for the Raspberry Pi kit and cables, with the tilted shape, one for the printer almost like a cube.
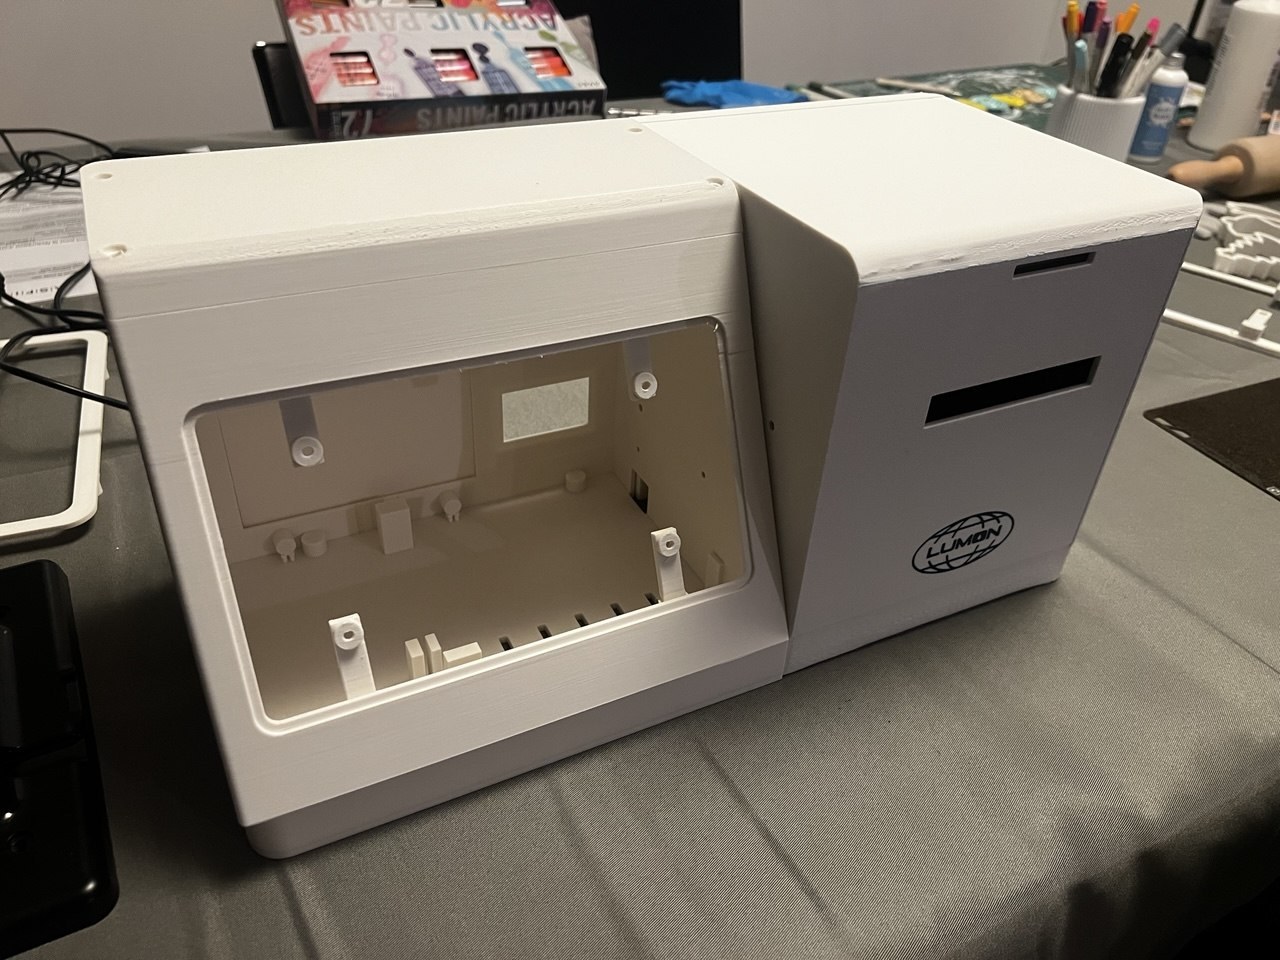
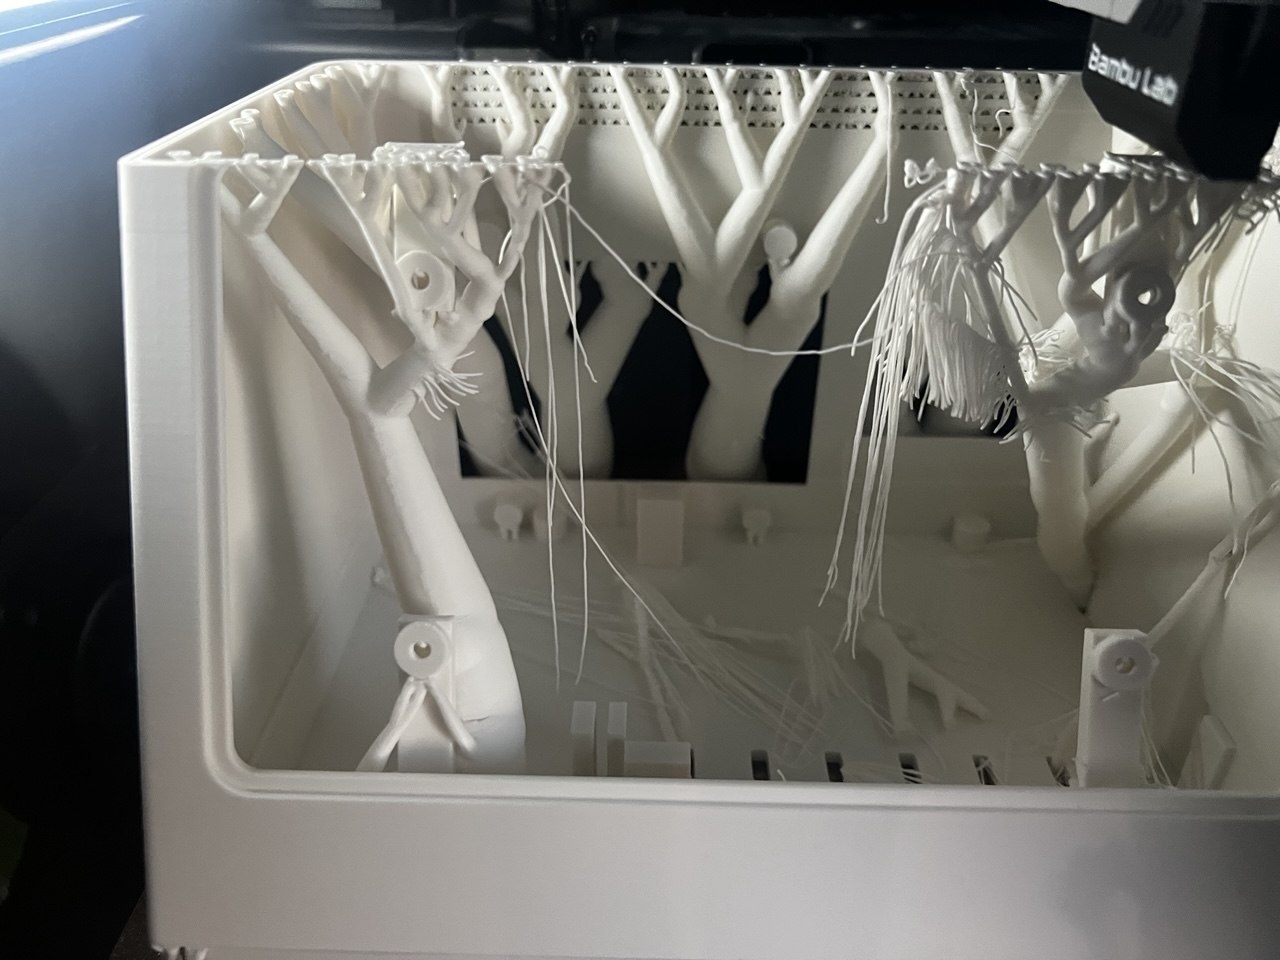
I started with the printer enclosure. I’ve always used the printer oriented with the paper outlet on the top side, which is the normal orientation if you have it on a desk. Then I realized it allows for a second orientation, with the paper outlet in front, meant for hanging the printer on a wall. Now the problem is, in my case the printer would still need to rest on the floor of the case, not hung on a wall, and it wasn’t meant to sit like that. It has an irregular shape, plus in that orientation the on/off switch would end up being pressed by its weight. So, I had to design a ramp to compensate for the tilted sides of the printer. Why am I even trying to explain this in words? I don’t even know. You can see it better from the pictures. Long story short I had to prepare a “seating” for the printer to sit straight and a rear panel to hold it steady. This took me a while to tackle (had to print multiple prototypes of this ramp) but in the end I was satisfied.
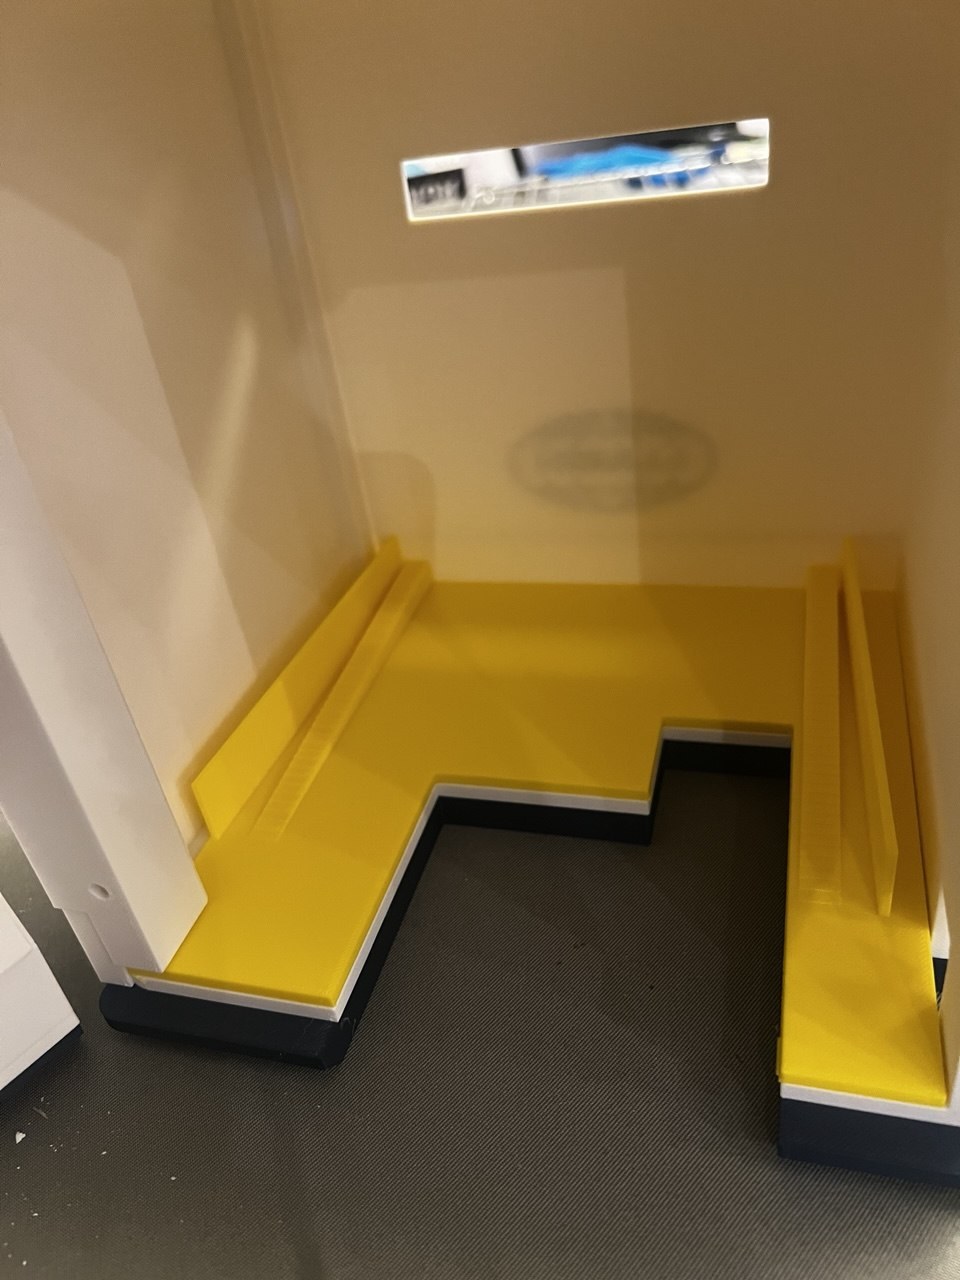
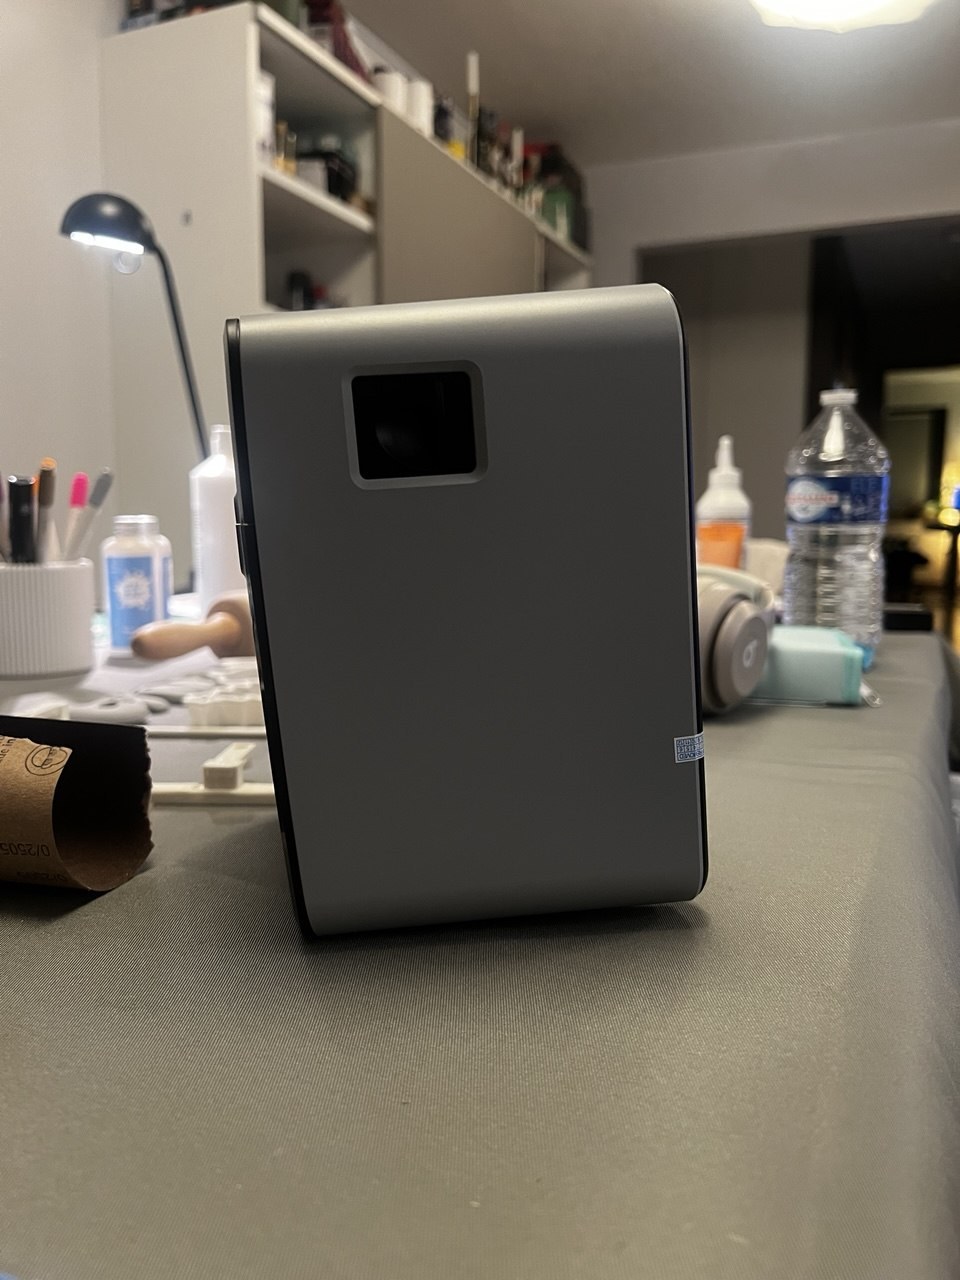
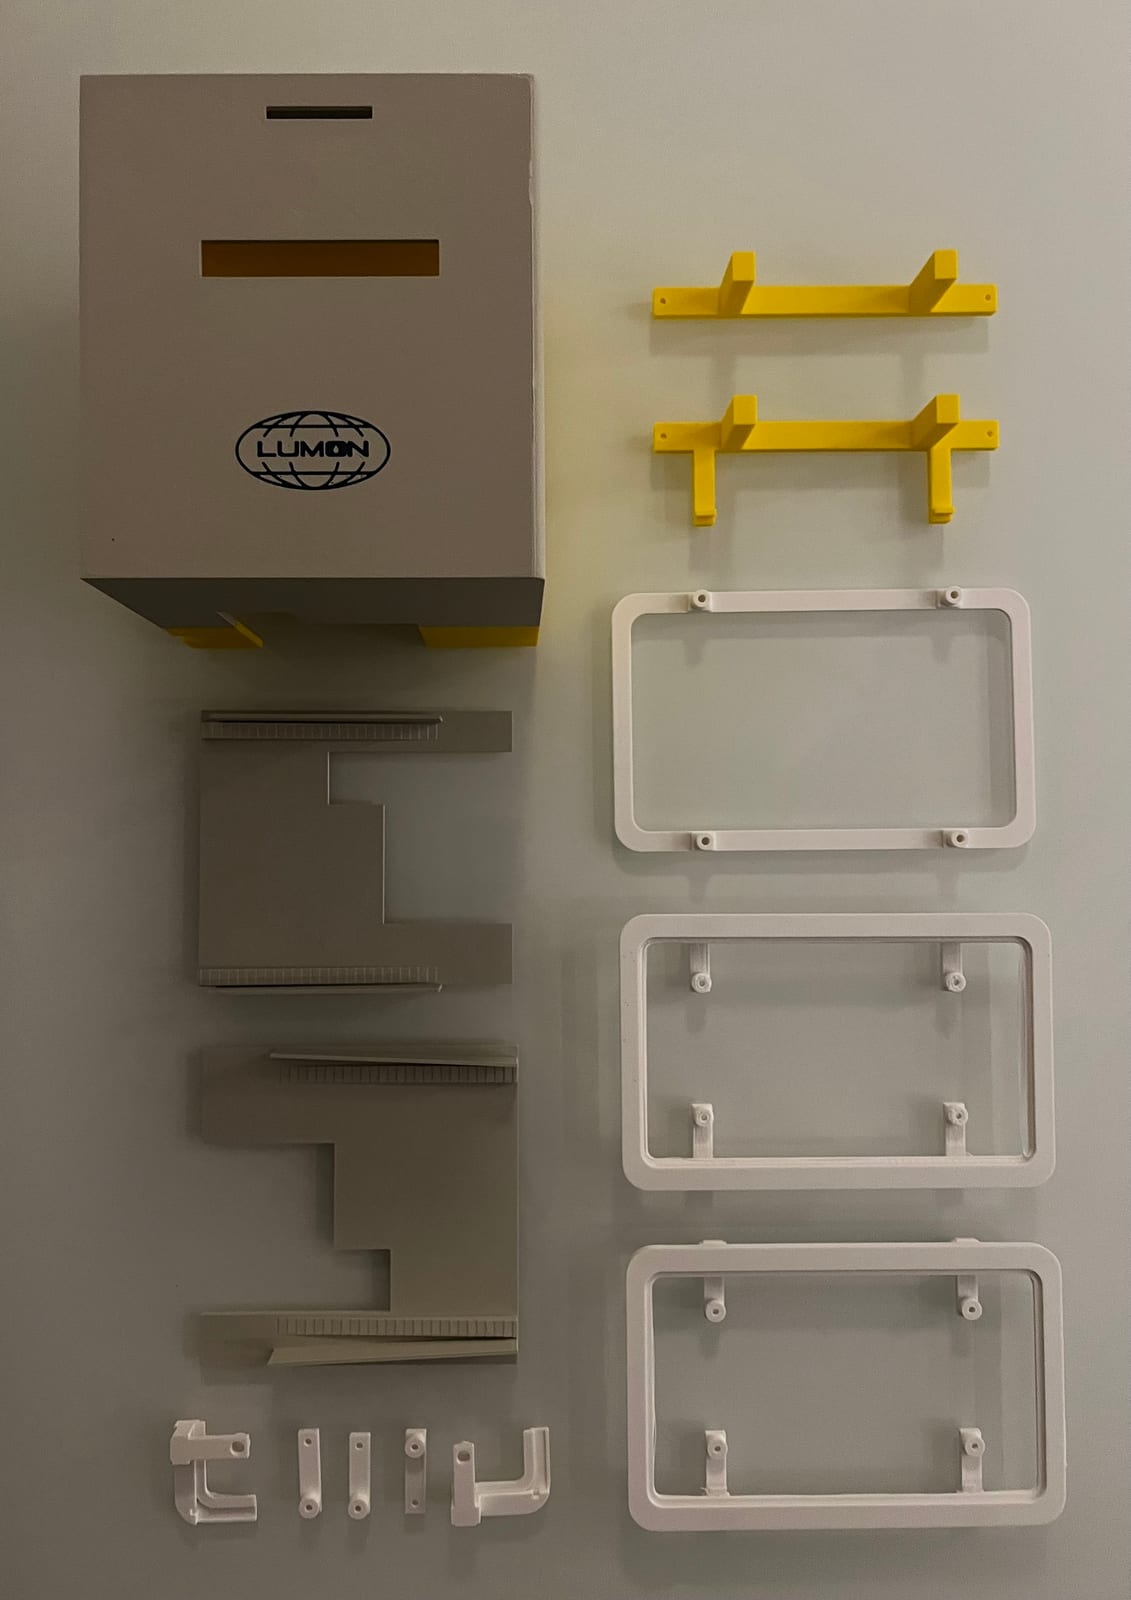
On the display side I’ve designed an aperture in the case with four brackets behind, so that the metal mount of the display could be screwed to them. I’ve replaced the various power adapters and USB chargers with a single 72 W 24 V adapter and a 24 V → 5 V converter to power both the printer and Raspberry Pi. I wanted the whole thing to be cable-free apart from one inlet for the 24 V power. A dozen inserts after and I was ready to assemble! The cherry on top: a PETG translucent insert positioned in front of the printer blue light.
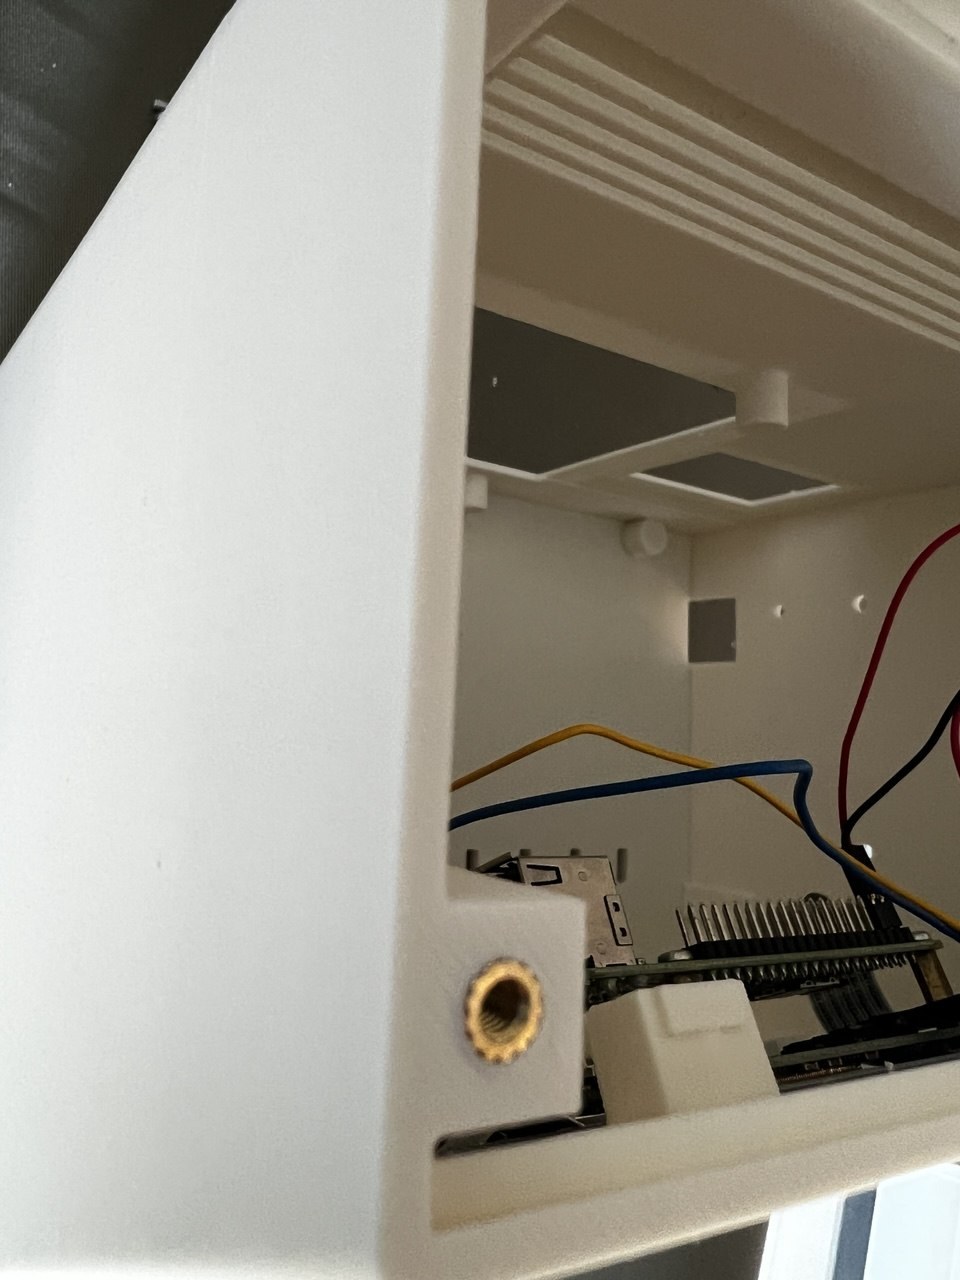
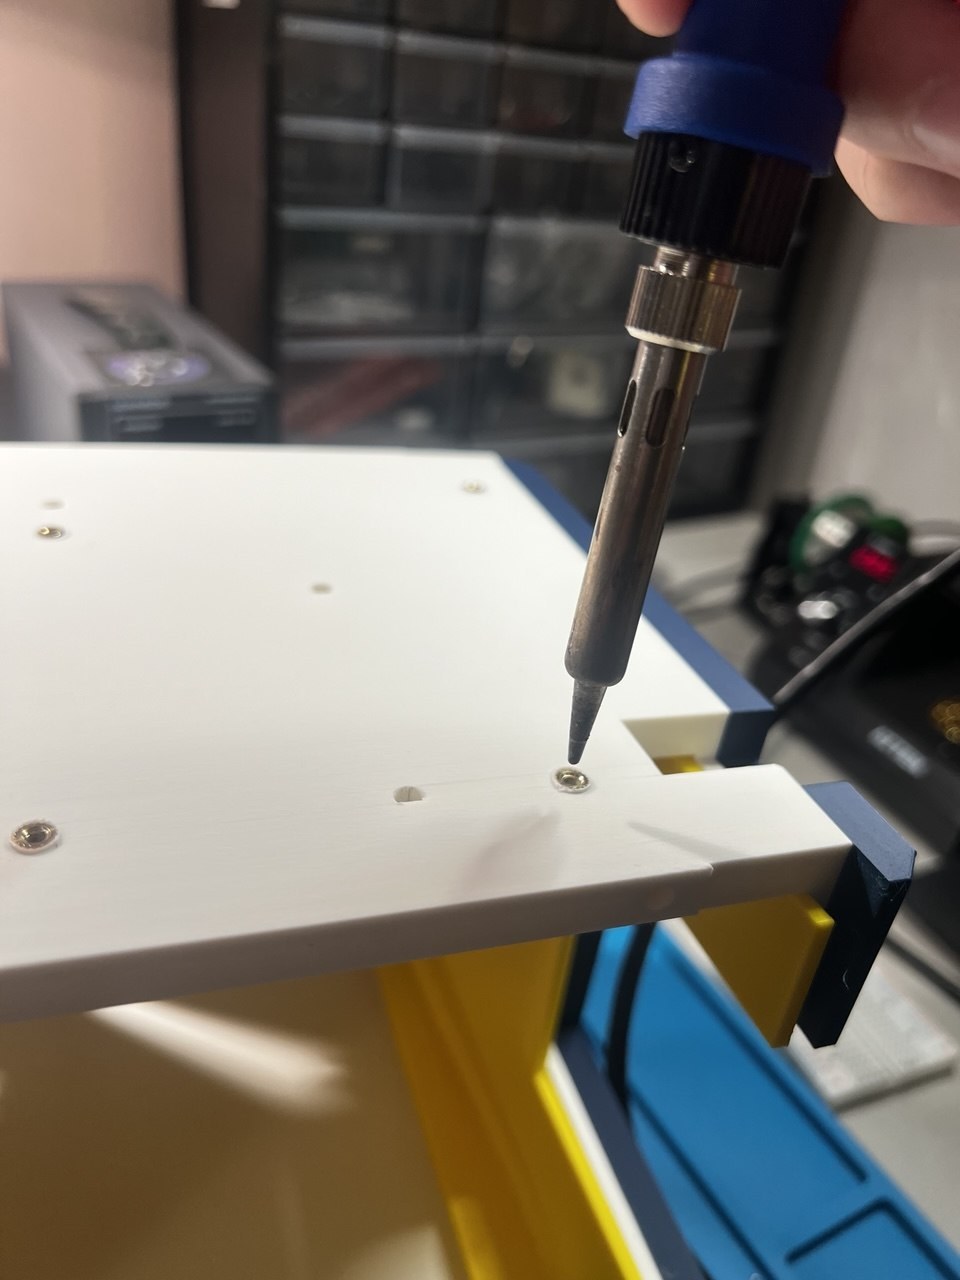
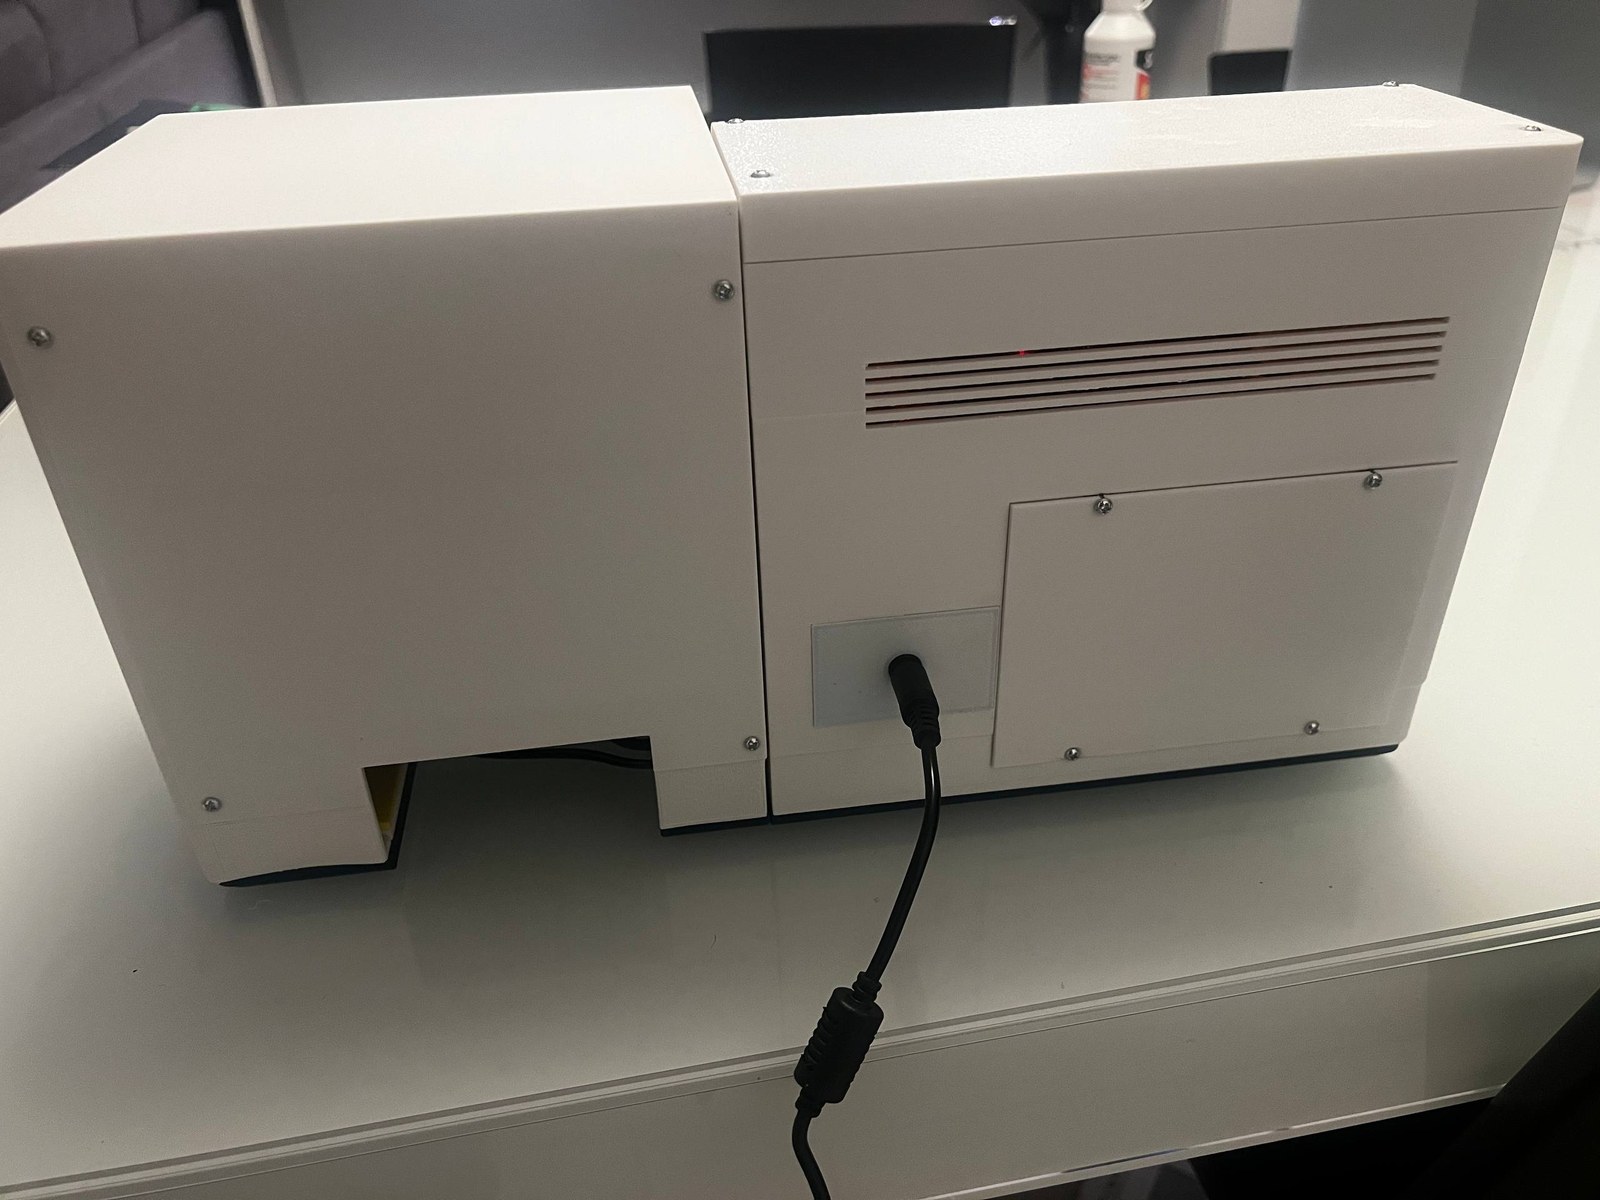
If you are interested, you can find the whole project on GitHub.